
 'Tis the season for gift giving! I love adding a personal touch to the gifts I give, especially when I'm giving a gift card. I starting making these gift card holders last year and because they went over sooo well, I'm at it again!
Materials:
-fabric - coordinating or not, it doesn't matter
- optional - fusible interfacing
-coordinating thread, scissors, sewing machine, hot glue gun
Prep:
-cut out your pieces: one 3.5" x 3.5" pocket piece, two 4.5" x 3.5" pieces
(if you are adding the interfacing, you'll need one 4.5" x 3.5" piece & one 3.5" x 3.5" piece)
Step #1:
Take your pocket piece and fold down on side 1/2" and stitch. I used a 5/8" seam allowance. Step #2:
 Step #2:
Sandwich your pieces - put the pocket piece in between the two 4.5" x 3.5" pieces. Make sure the two 4.5" x 3.5" pieces are right sides together.
 Step #3:
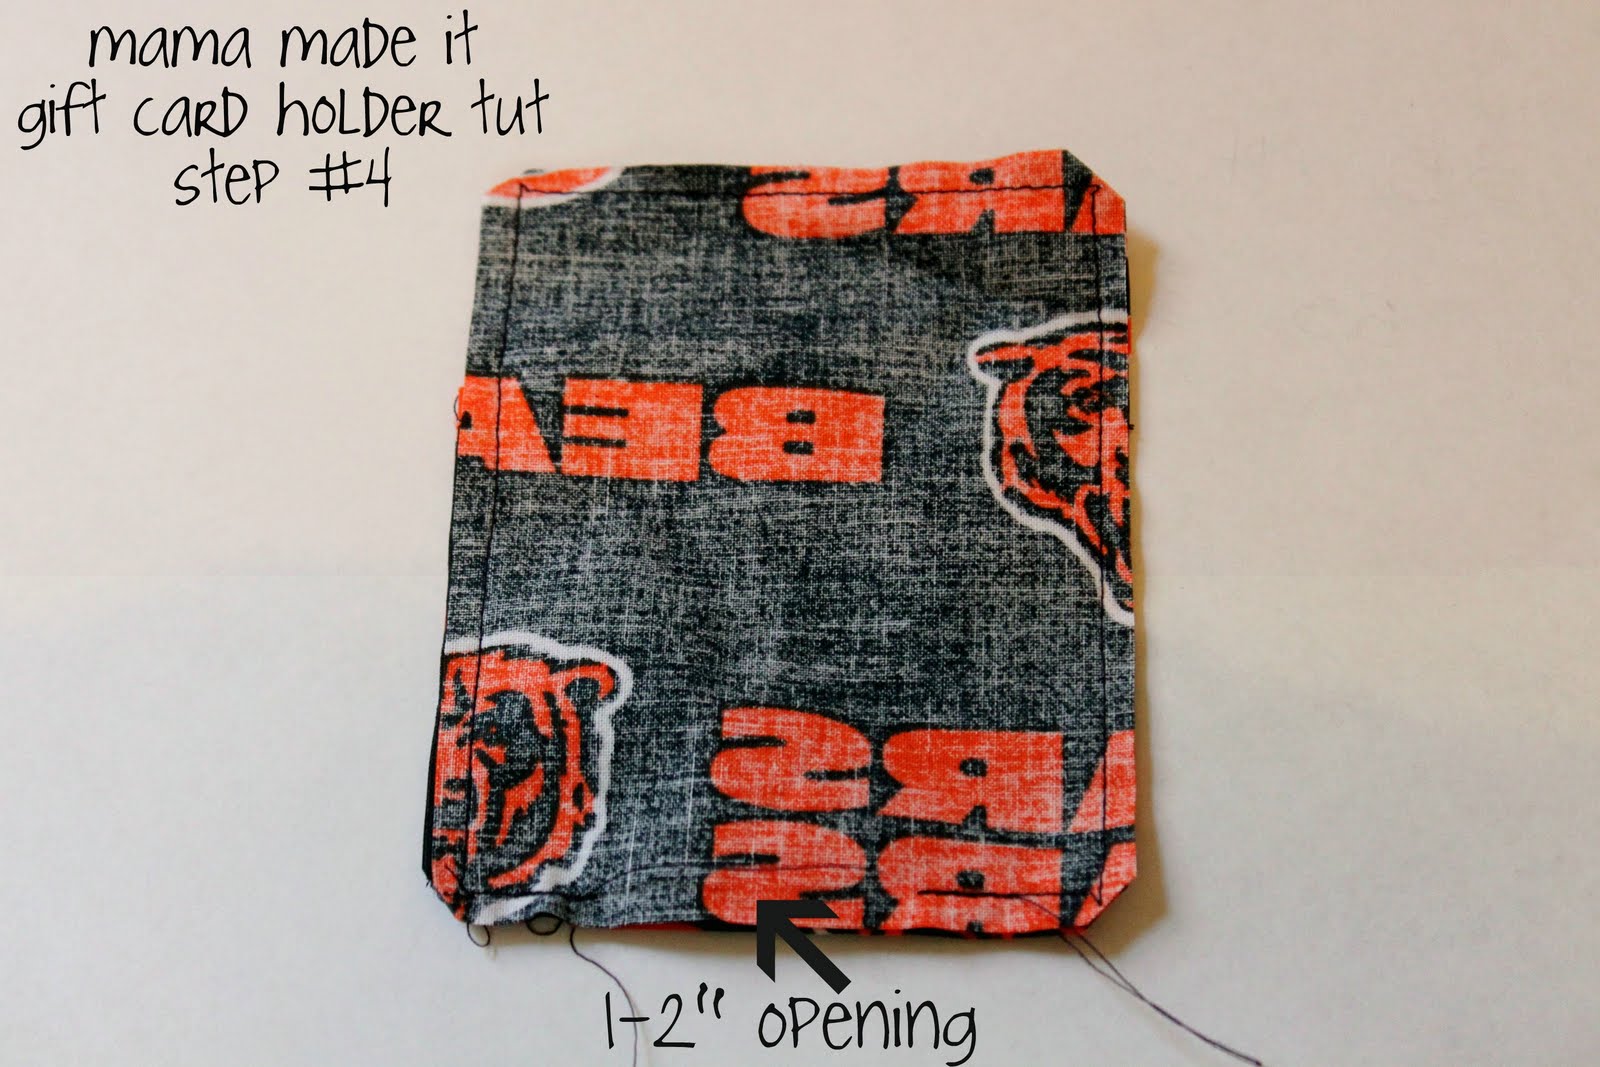
Sew around the rectangle, leaving a 1-2" opening on one of the edges.
 Step #4:
Snip the four corners (to make it smoother when you flip it right-side-out).

 Step #7:
Step #5:
Using the 1-2" opening, flip your holder right-side-out. Make sure to use something to get all four corners popped out. Step #6:
 Step #6:
Tuck the opening edges under and top stitch around the entire holder, closing up the opening.
Step #7:Add an embellishment (button, rosette, etc) with hot glue. Stick the gift card in the pocket and you're good to go!!
No comments:
Post a Comment