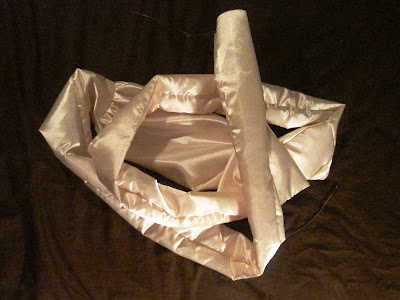
-I used satin taffeta in ivory from Jo-Ann's online {It was only $6.99 a yard!} For 4 sashes, I used just under 3 yards.
-matching cotton thread
-matching embroidery thread
-lots of straight pins
-scissors & rotary cutter
What to Cut:
1 - 10"tall by 19.5"wide piece {front piece to be ruched}
4 - 4.5"tall by 38.5" wide pieces (8.5" at one end, see above) {tie pieces, 2 for the front, 2 for the back}
1 - 4.5"tall by 19.5"wide piece {back of ruched piece}
**I got these measurements from the sashes the girls looked at in the stores, so this sash is a women's small/medium.**
What to Do:
Step #1 - After cutting out all six pieces, take the front piece to be ruched (10"x19.5") and gather stitch up both short sides, using the cotton thread. To make a gathering stitch, set your matching to the longest stitch length and stitch. I only back stitched at the beginning but not at the end to allow me to pull the threads for my gather.

Step #2 - Pull the non-back stitched thread to gather your material. Stop gathering once your sides are 4.5" inches tall.

Step #3 - With the right sides of the satin facing each other, pin each side of the ruched front to a tie piece. **Make sure the curved ends match each other or you'll be ripping the stitching and doing it again!** Stitch where you pinned with cotton thread.

Step #4 - Pin together (right sides facing) the remaining two ties to the back piece, again using cotton thread.
Step #5 - {Here's where LOTS of straight pins are needed!} Lay the front & back pieces on top of one another, right sides facing. Pin the edges together...often. Satin taffeta is slippery! I pinned about every 2" or so. Leave one end open (to remind you not to sew it shut!) for turning purposes!
Back view...

Step #6 - Stitch along the edge, all the way around, leaving one end open.

Step #7 - Turn the sash right-side-out. This takes some time. Push the corners of the end out. It looks like a giant satin snake when you're done!!

Step #8 - More pinning!! Pin around the entire edges of the sash again! Fold your open end under and pin as well. Top stitch with the embroidery thread all around the sash. This is what makes your sash look like a sash rather than a snake!!


I searched everywhere for a tutorial like this to help me with a wedding dress I'm making for a good friend. I had all these ideas running through my head. This sash though wont be a tie back one but a sewn in one. Thank you!!
ReplyDelete